No products in the cart.
Showing all 11 resultsSorted by latest
Add to Wishlist
Add to Wishlist
Add to Wishlist
Add to Wishlist
Add to Wishlist
Add to Wishlist
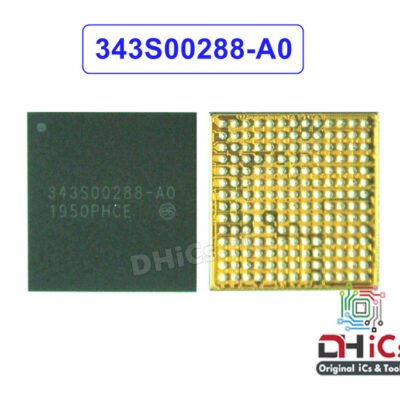
343S00288-A0 Power iC For iPad Pro 11 2nd Gen (2020)
Add to Wishlist
Add to Wishlist
Add to Wishlist
Add to Wishlist
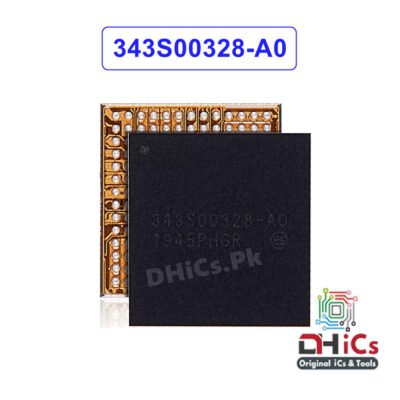
343S00328-A0 Power iC For iPad Pro 12.9 4th Gen (2020)
Add to Wishlist
Add to Wishlist
Add to Wishlist
Add to Wishlist
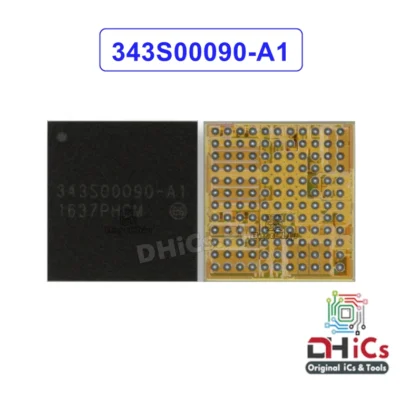
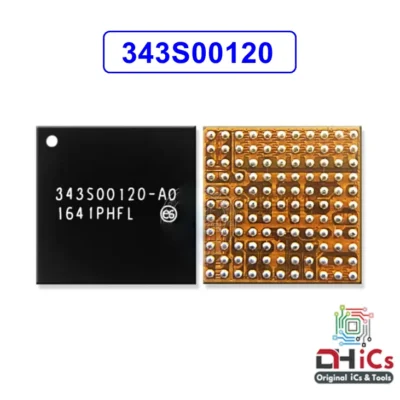
343S00090-A1 Charging iC For A1701/A1709/A1852 iPad Pro 10.5
Add to Wishlist
Add to Wishlist
Add to Wishlist
Add to Wishlist
Add to Wishlist
Add to Wishlist
Add to Wishlist
Add to Wishlist
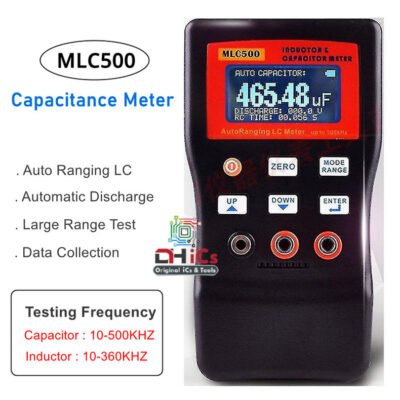
This MLC500 LC meter is auto-ranging component tester, can drive up to 500 KHz, suitable for small value capacitor and inductor measurement. It provides very stable and high resolution measurement up to 5 digits.
Features:
Fully auto-ranging designed, drive up to 500 KHz.
High resolution, up to 5 digit display, most finest resolution: 0.01pF, 0.001uH.
High stability and measurement range for L/ C.
Large LCD display with backlight, easy to read.
USB PC program, can take record and pass and fail component sorting function.
Capacitor discharge terminal and capacitor storage voltage display.
Add to Wishlist
Add to Wishlist
Add to Wishlist
Add to Wishlist
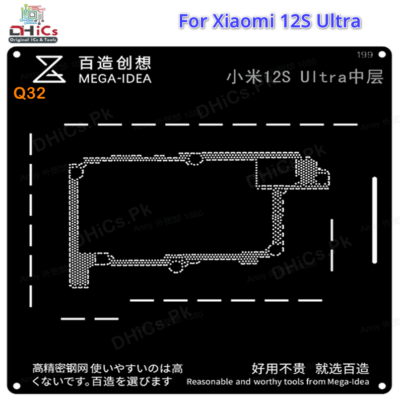
Xiaomi 12S Ultra Middle Frame Reballing Stencil
Add to Wishlist
Add to Wishlist
Add to Wishlist
Add to Wishlist
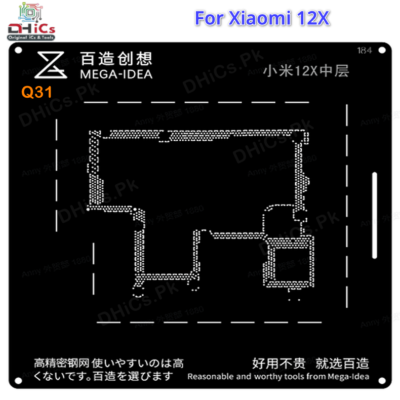
Xiaomi 12X middle frame Reballing Stencil
Add to Wishlist
Add to Wishlist
Add to Wishlist
Add to Wishlist
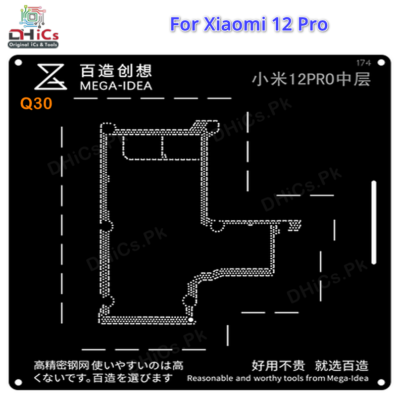
XIAOMI 12 PRO Motherboard middle layer Reballing Stencil
Add to Wishlist
Add to Wishlist
Add to Wishlist
Add to Wishlist
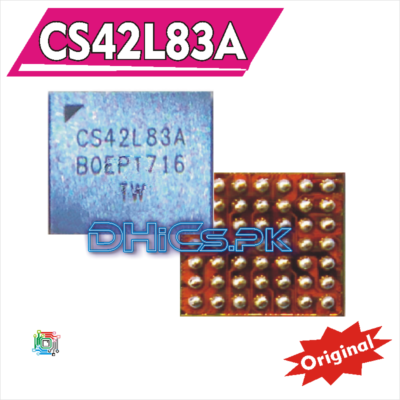
IPAD PRO 10.5 audio IC CS42L83A
How to replace iphone iC chips?
*Remove the chip cleanly, with hot air.
*Clean the tracks with a soldering iron, tin and flux.
*Clean the map.
*Inspect the card under the microscope.
*If we compare to the diagram on the PhoneBoard software;We observe very clearly that we will be able to put a wire to redo this connection.
*Put on some flux.
*Take a soldering iron with tin at the end.
*Pass over the chip to smooth the balls.
*Clean.
*Put on a reballing stencil.
*Spread some soldering paste.
*Heat with hot air to form the balls.
*Extract the chip by pushing with a thin tweezers.
*Check the size of the balls.
*And we end up putting the chip back. Flow, position and solder with hot air.
*We let the phone cool, we go back and the problem is solved!
Add to Wishlist
Add to Wishlist
Add to Wishlist
Add to Wishlist
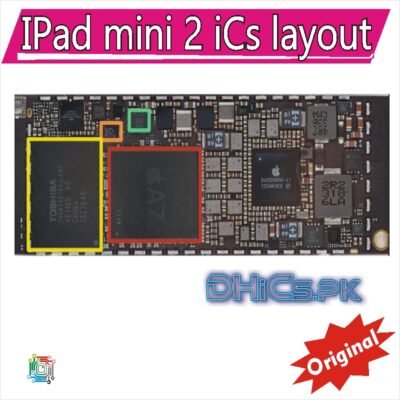
339S00213 WIFI IC chip for IPad 5 AIR /IPAD mini2/mini3
How to replace iphone iC chips?
*Remove the chip cleanly, with hot air.
*Clean the tracks with a soldering iron, tin and flux.
*Clean the map.
*Inspect the card under the microscope.
*If we compare to the diagram on the PhoneBoard software;We observe very clearly that we will be able to put a wire to redo this connection.
*Put on some flux.
*Take a soldering iron with tin at the end.
*Pass over the chip to smooth the balls.
*Clean.
*Put on a reballing stencil.
*Spread some soldering paste.
*Heat with hot air to form the balls.
*Extract the chip by pushing with a thin tweezers.
*Check the size of the balls.
*And we end up putting the chip back. Flow, position and solder with hot air.
*We let the phone cool, we go back and the problem is solved!
Add to Wishlist
Add to Wishlist
Filter Products
Archives
- February 2025
- January 2025
- December 2024
- November 2024
- October 2024
- September 2024
- August 2024
- July 2024
- June 2024
- May 2024
- April 2024
- January 2024
- November 2023
- October 2023
- September 2023
- August 2023
- July 2023
- June 2023
- May 2023
- April 2023
- March 2023
- February 2023
- January 2023
- October 2022
- April 2022
- August 2021
- November 2020
- September 2019
