No products in the cart.
Showing 1–16 of 31 resultsSorted by latest
Add to Wishlist
Add to Wishlist
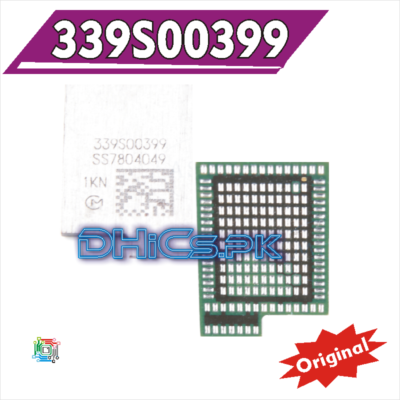
iPhone 8 8P X wifi IC 339S00399
How to replace iphone iC chips?
*Remove the chip cleanly, with hot air.
*Clean the tracks with a soldering iron, tin and flux.
*Clean the map.
*Inspect the card under the microscope.
*If we compare to the diagram on the PhoneBoard software;We observe very clearly that we will be able to put a wire to redo this connection.
*Put on some flux.
*Take a soldering iron with tin at the end.
*Pass over the chip to smooth the balls.
*Clean.
*Put on a reballing stencil.
*Spread some soldering paste.
*Heat with hot air to form the balls.
*Extract the chip by pushing with a thin tweezers.
*Check the size of the balls.
*And we end up putting the chip back. Flow, position and solder with hot air.
*We let the phone cool, we go back and the problem is solved!
Add to Wishlist
Add to Wishlist
K3LK7K7 BGCP Samsung 8G LPDDR5 RAM For Qualcomm and Exynoss CPU
-
- Compatible With Samsung Xiaomi Oppo Vivo Mobiles
Applications
- 5G & Connectivity, Mobile
-
Density
- 64 Gb
-
Organization
- x64
-
Speed
- 6400 Mbps
-
Voltage
- 1.8 / 1.05 / 0.9 / 0.5 V
-
Temperature
- -25 ~ 85 °C
-
Package
- 496 FBGA
Add to Wishlist
Add to Wishlist
H9HQ15AFAMAD UFS 2.1, 8 / 128 gb, LPDDR4X. SK HYNIX BGA254. For All MTK Phones Memory Chip – Tested
Add to Wishlist
Add to Wishlist
Add to Wishlist
Add to Wishlist
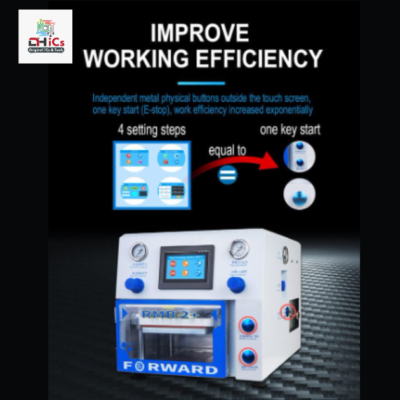
Flat & edge Oca laminating 3in1 machine
Add to Wishlist
Add to Wishlist

Add to Wishlist
Add to Wishlist
16 inch Oca laminating all in one machine
Add to Wishlist
Add to Wishlist

Add to Wishlist
Add to Wishlist
13 inch Oca laminating all in one machine
Add to Wishlist
Add to Wishlist
Add to Wishlist
Add to Wishlist
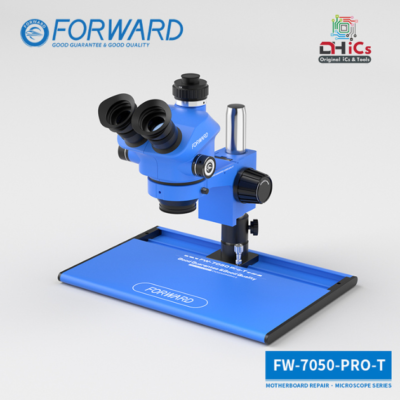
360 rutate up & down with slide & focus lock With 2 lens 0.5X & 0.7x with 144 led lights & dust proof lens
Add to Wishlist
Add to Wishlist

Add to Wishlist
Add to Wishlist
CEO-2MAX
₨ 480,000 Add to cart
16 inch flat & edge Oca laminating 3in1 machine automatic
Add to Wishlist
Add to Wishlist
Add to Wishlist
Add to Wishlist
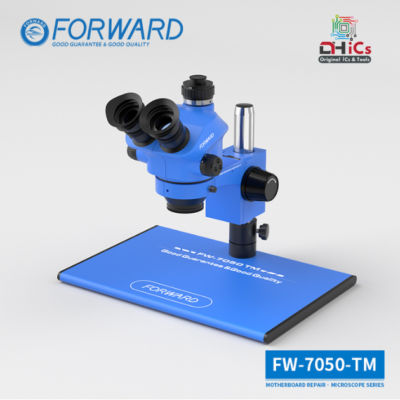
360 rutate up & down With 2 lens 0.5X & 0.7x with 144 led lights & dust proof lens
Add to Wishlist
Add to Wishlist
Add to Wishlist
Add to Wishlist
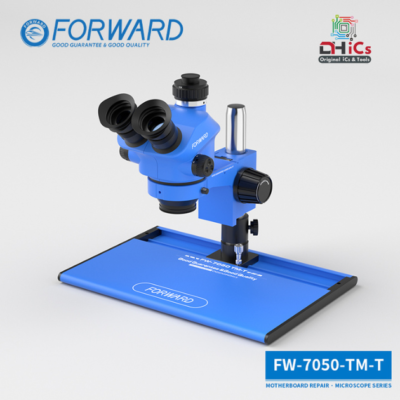
With Slide & up & down Without focus lock 2 lens 0.5X & 0.7x with 144 led lights & dust proof lens
Add to Wishlist
Add to Wishlist

Add to Wishlist
Add to Wishlist
Flat & edge Oca laminating 3in1 machine
Add to Wishlist
Add to Wishlist
Add to Wishlist
Add to Wishlist
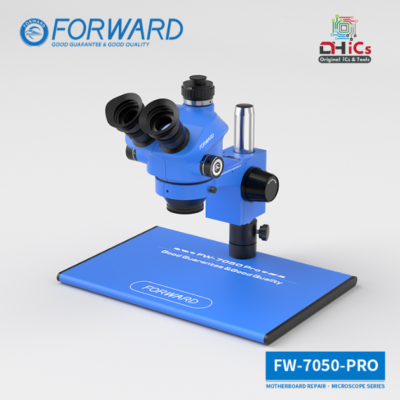
Microscope FW 7050 Pro
₨ 70,000 Add to cart
360 rutate & up& down With focus lock 2 lens 0.5X & 0.7x with 144 led lights & dust proof lens
Add to Wishlist
Add to Wishlist

Add to Wishlist
Add to Wishlist
Flat & edge Oca laminating all in one machine
Add to Wishlist
Add to Wishlist
Add to Wishlist
Add to Wishlist
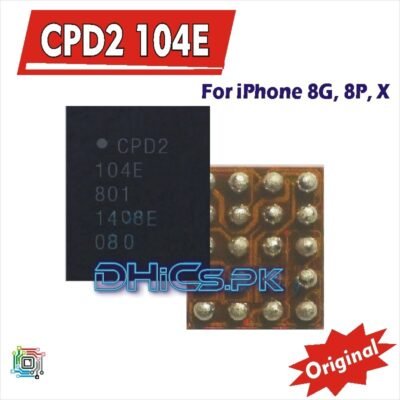
CPD2 104E, 104B, 104C For iPhone 8G X 8Plus
iPhone 8G Not charging solution, dead solution iC CPD2 104E
iPhone X Not charging solution, dead solution iC CPD2 104E
iPhone 8Plus Not charging solution, dead solution iC CPD2 104E
Add to Wishlist
Add to Wishlist
Add to Wishlist
Add to Wishlist
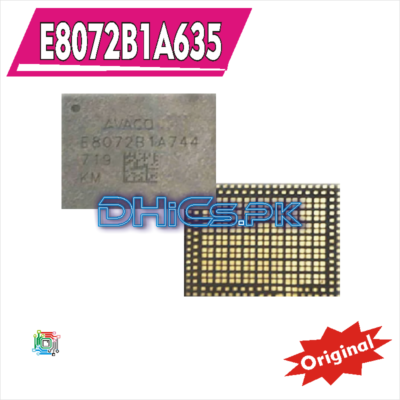
iPhone 8 8P power amplifier IC E8072B1A635
How to replace iphone iC chips?
*Remove the chip cleanly, with hot air.
*Clean the tracks with a soldering iron, tin and flux.
*Clean the map.
*Inspect the card under the microscope.
*If we compare to the diagram on the PhoneBoard software;We observe very clearly that we will be able to put a wire to redo this connection.
*Put on some flux.
*Take a soldering iron with tin at the end.
*Pass over the chip to smooth the balls.
*Clean.
*Put on a reballing stencil.
*Spread some soldering paste.
*Heat with hot air to form the balls.
*Extract the chip by pushing with a thin tweezers.
*Check the size of the balls.
*And we end up putting the chip back. Flow, position and solder with hot air.
*We let the phone cool, we go back and the problem is solved!
Add to Wishlist
Add to Wishlist
Add to Wishlist
Add to Wishlist
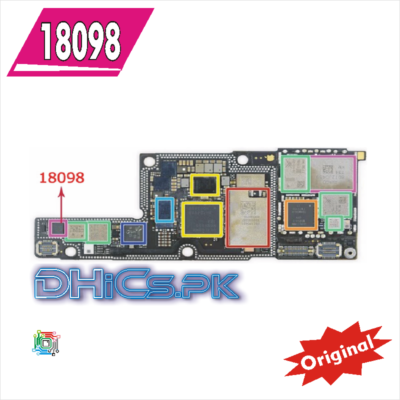
iPhone 8 8P X Signal power supply IC 18098
How to replace iphone iC chips?
*Remove the chip cleanly, with hot air.
*Clean the tracks with a soldering iron, tin and flux.
*Clean the map.
*Inspect the card under the microscope.
*If we compare to the diagram on the PhoneBoard software;We observe very clearly that we will be able to put a wire to redo this connection.
*Put on some flux.
*Take a soldering iron with tin at the end.
*Pass over the chip to smooth the balls.
*Clean.
*Put on a reballing stencil.
*Spread some soldering paste.
*Heat with hot air to form the balls.
*Extract the chip by pushing with a thin tweezers.
*Check the size of the balls.
*And we end up putting the chip back. Flow, position and solder with hot air.
*We let the phone cool, we go back and the problem is solved!
Add to Wishlist
Add to Wishlist


